So, you’ve got your paddleboard, got your action camera and now want to make your first SUP movie. But where do you start?! After reading SUPboarders Top Ten Tips on using a GoPro and getting used to the basic camera functions, and with summer on its way there’s no better time to give it a go.
Here are SUPboarders Top Ten Tips on how best to use your waterproof action camera to make your own SUP movie.
Find out what your camera can do
The recent versions of most cameras have multiple video modes to chose from and it’s well worth learning how they work so that you can produce footage that stands out from the crowd. This video tutorial from GoPro athlete Lakey Peterson shows exactly how the video modes on the GoPro 4 Black can be used to great effect.
Experiment with different mounts

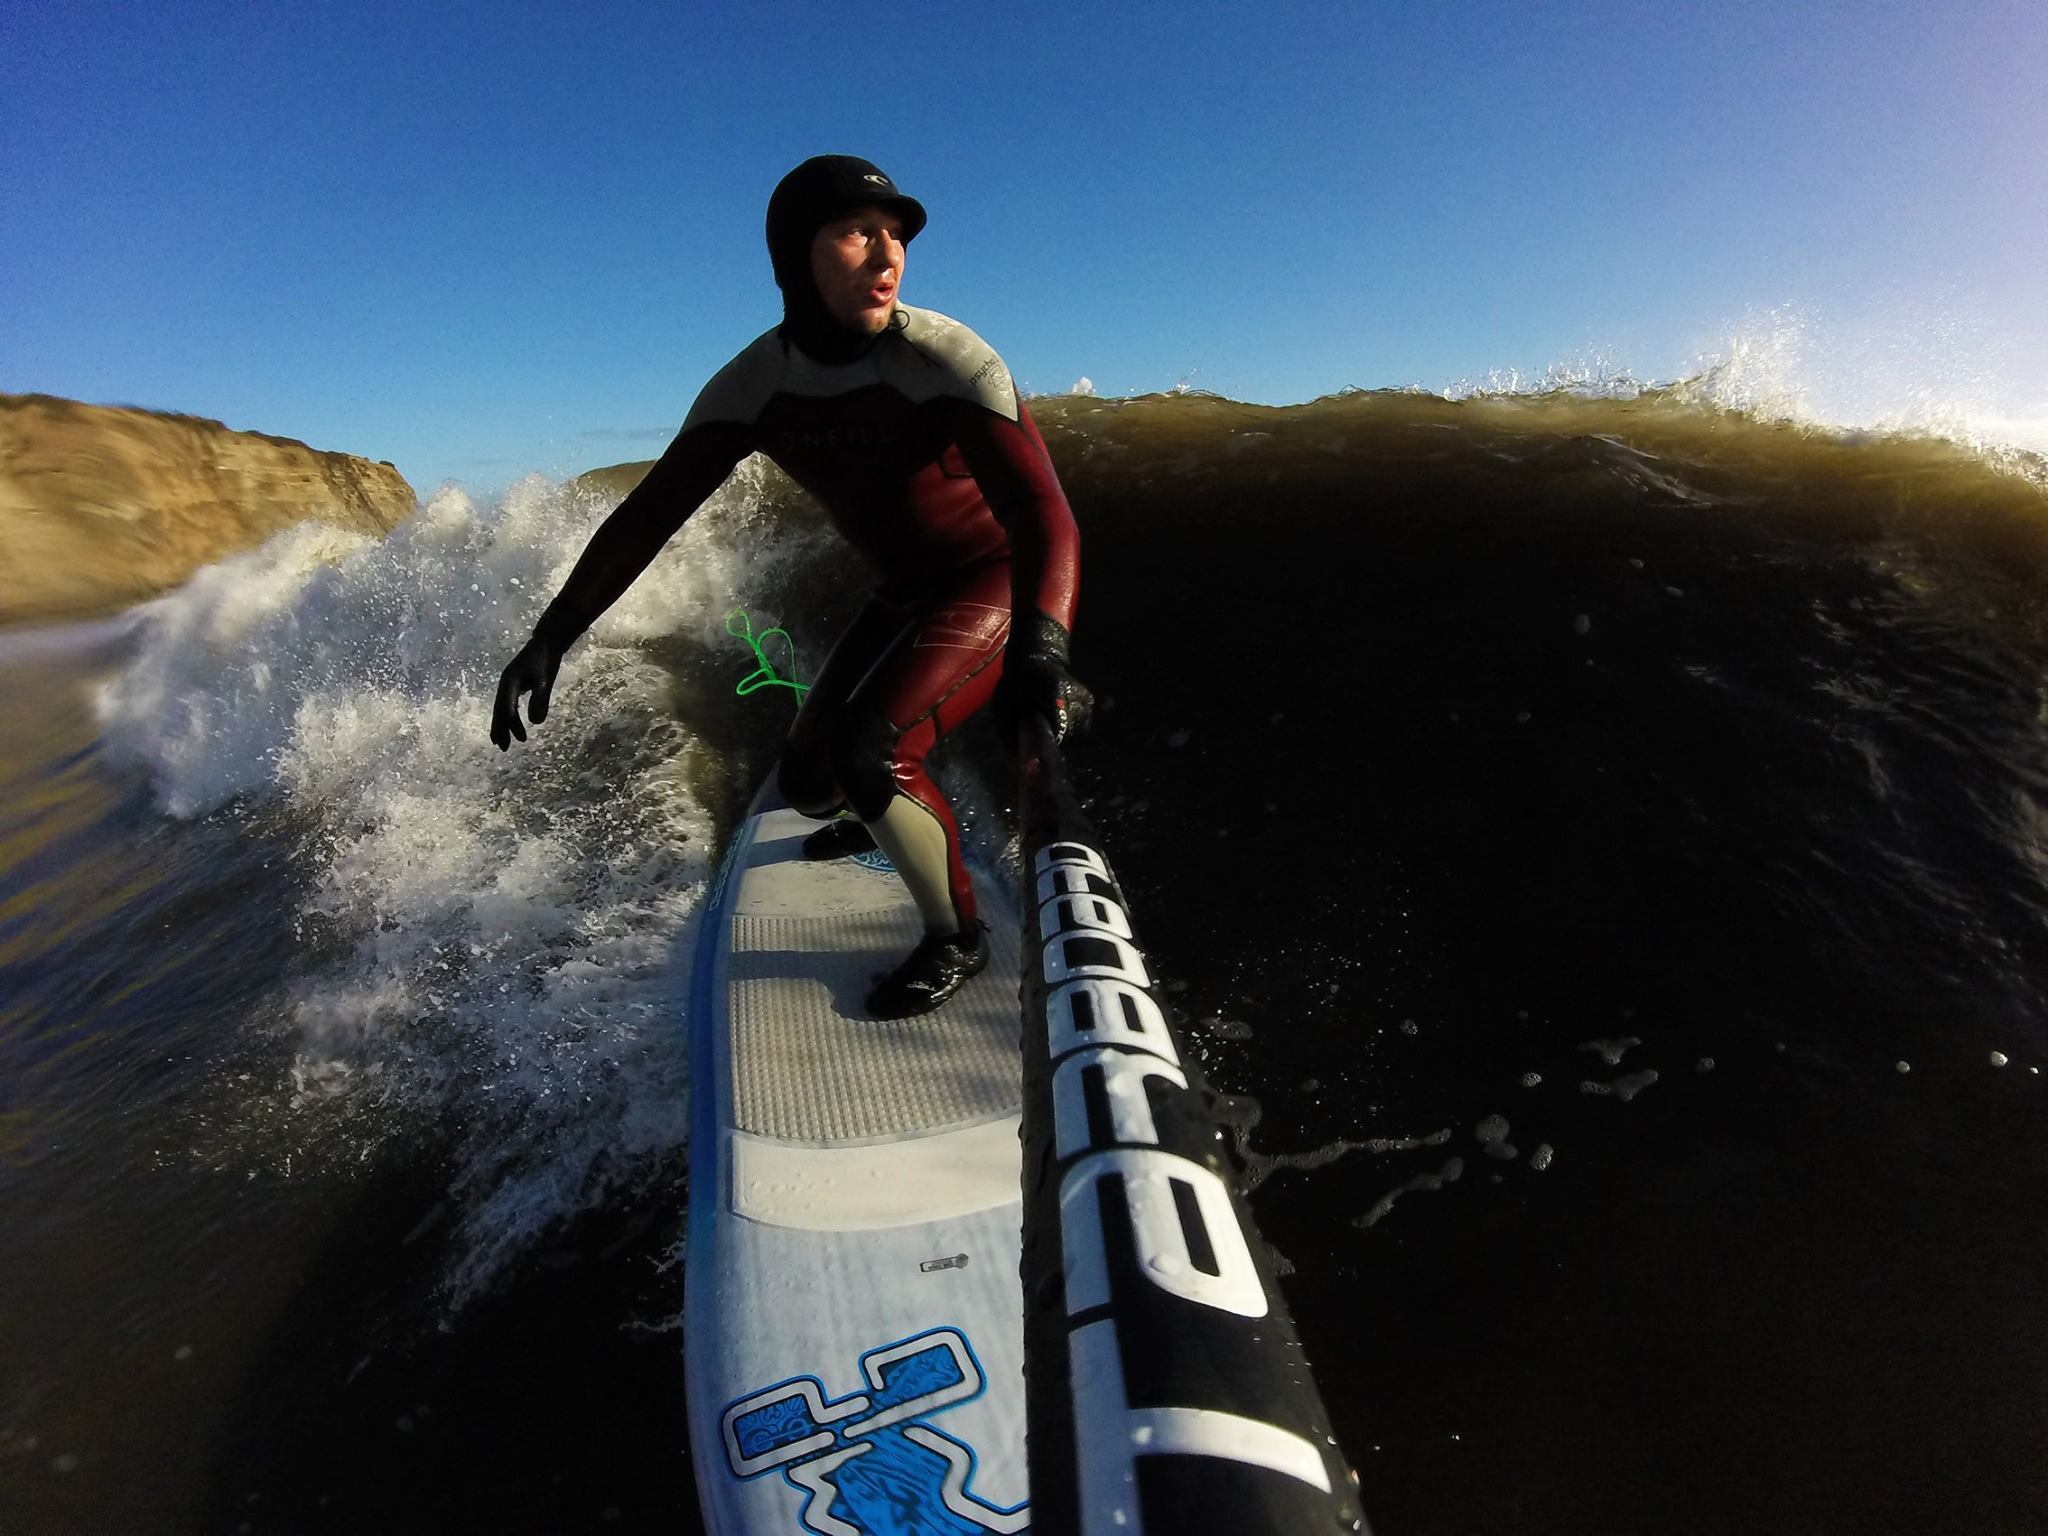
Try different mounts for interesting footage. New mounts seem to hit the shops on a weekly basis. Self adhesive mounts on the nose have been used for years but try the tail or mid board for a different angle. Experiment with clamps on the paddle shaft or on a pole. Many boards now come with FCS mounts on the deck which will take a GoPro plug. The GoPro clamp with goose neck will give a variety of mounting possibilities. Be creative. But remember that mounts don’t float!
Think about the angle
Once you’ve got the camera mounted make sure that it’s going to capture the action you want and not just the sky or the sea, or worse that you get part but not all of the action. If you’re filming others then try to keep them centrally in the shot. From a board that might not be easy so, if it’s safe and sensible to do so, get in the water for a great shot. Most action cameras use a very wide angle lens so you’ll need to keep the subject close to get the best results. Too far away and they will be lost in the backgrounds and you’ll miss the action.
Make a plan
Planning is everything. If you really want to produce a great video think ahead for what you want to achieve. You might not need to create a storyboard but having a plan before you switch the camera on and hit the water will achieve a better result. Also consider how well your camera works in different light conditions and, if you are filming others, get them to wear something other than a black wetsuit on a cloudy day. If you have a camera with a low light setting consider using it.
Be your own director
Directing your own film might seem a little ‘Hollywood’ but even the best day spent paddling and filming could produce no useful footage if you get carried away with the action as soon as the camera is switched on. Direction becomes even more important if you’ve got more than one camera and more than one camera-person involved. Be prepared to adapt to locations and conditions and work with your friends to make sure that you can all sit down at the end of the day and appreciate the effort put in to get something great on screen.
Help yourself
Remember if you’ve set the camera up on a mount on your board that it could be upside down if you move it to your paddle. That can be corrected later but that’s extra work for your edit. Thinking of post processing on the new GoPros there is a highlight button that can be used to mark sections of footage that stood out when you were filming. Every little thing helps when going through 2 hours of footage for a 2 minute video!
Accessorise
Filters can be used to great effect on all cameras. A Polarising filter or a Neutral Density filter can easily be fitted to the GoPro range and will improve images in very bright light. Polarisers are especially effective for use on the water. But make sure that water cannot get between the filter and the lens case unless you are looking for a unique under-water look!
More choice
Of course there is an app for that! GoPro, Garmin and others have their own apps for their cameras that will give you more control over settings. How useful they are on a SUP while paddling is down to you. With a phone in a waterproof case then they should work well but an easier solution for basic functions is a dedicated remote. Using one will mean that you can avoid having hours of footage to go through to get to that moment. Just make sure that you’re filming when you want to be!
Mix it up
Don’t be afraid to add stills to your video footage. Most action cameras will have several stills modes including time-lapse and burst that can be used to make your video footage really stand out from the crowd. Experiment with different effects in post processing, maybe after taking a copy of the original footage. Video can be enhanced and stabilized after it has been downloaded and if you’re desperate to share then phone apps can be used to cut short videos together and post them to social media while you’re still at the beach.

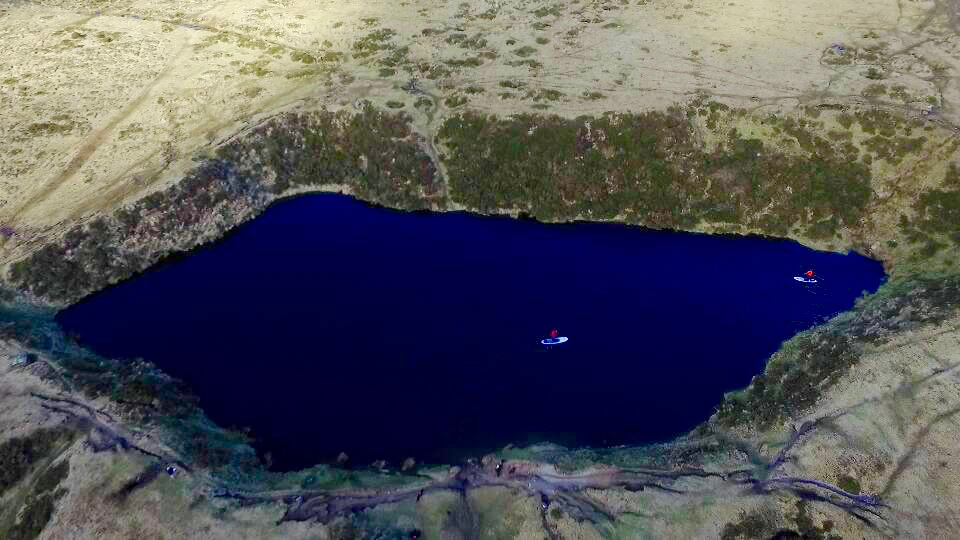
If you have the funds then adding aerial footage to your video is possible with a drone, but a good one can be prohibitively expensive (and make sure you’re aware of the rules re; drone flying before you take to the sky!) You could always experiment with a kite! If you do let us know at SUPboarder! Combining a mixture of footage taken from the water, land and the sky will make a far more interesting film to watch. Don’t be afraid to mix it up!
Add some music
Once you’ve got the edit ‘in the can’ then add some music to it. There are many libraries with free-to-use tunes on-line and it’s a simple job to find something that’s the same length as your film and that will enhance your masterpiece.
The best tip for creating great footage is to practice, practice, practice. The more footage you shoot and edit the better you will become as a filmmaker. But the most important thing with any SUP film making is to enjoy your paddling!
And remember when you’ve got something you like why not send it to us at SUPboarder for the world to see.